Explore Your Faith and History on a Heritage Tour
Let TourMagination transport you there
Engage | Experience | Expand


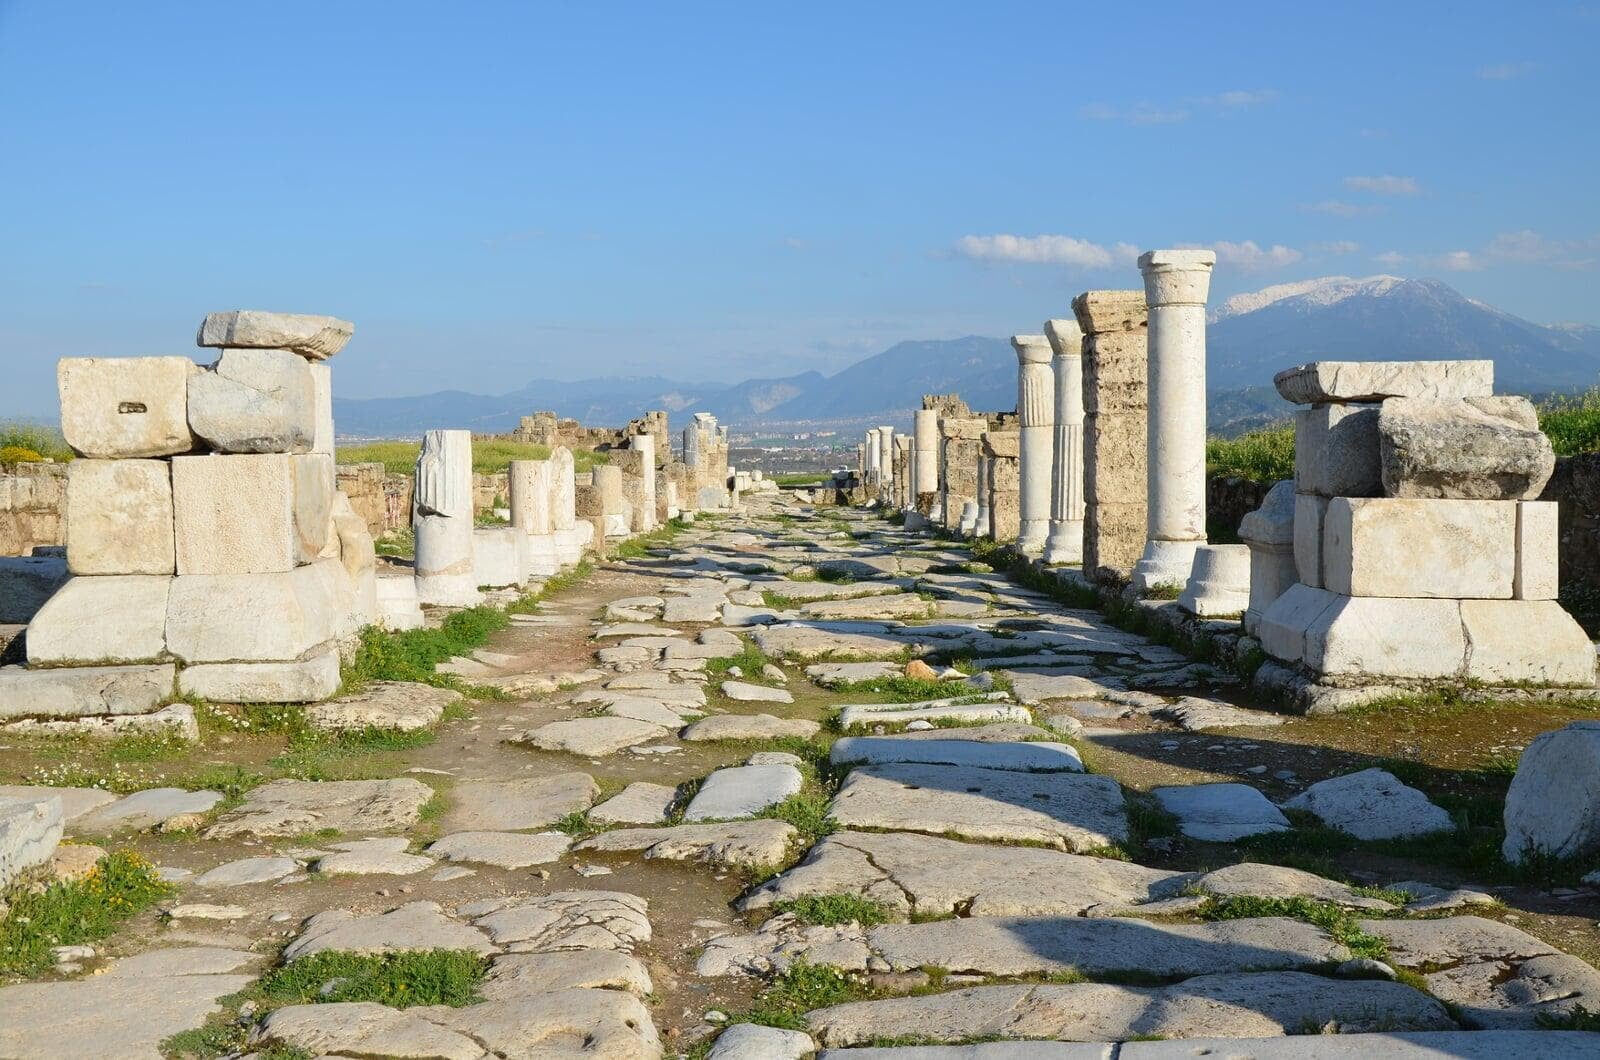
On this commemorative Anabaptist heritage tour in Europe, visit significant sites that will bring to life the stories of Menno Simons, Jacob Hutter, Pilgram Marpeck, Dirk Willems, Jakob Amman, and other important Anabaptist leaders.
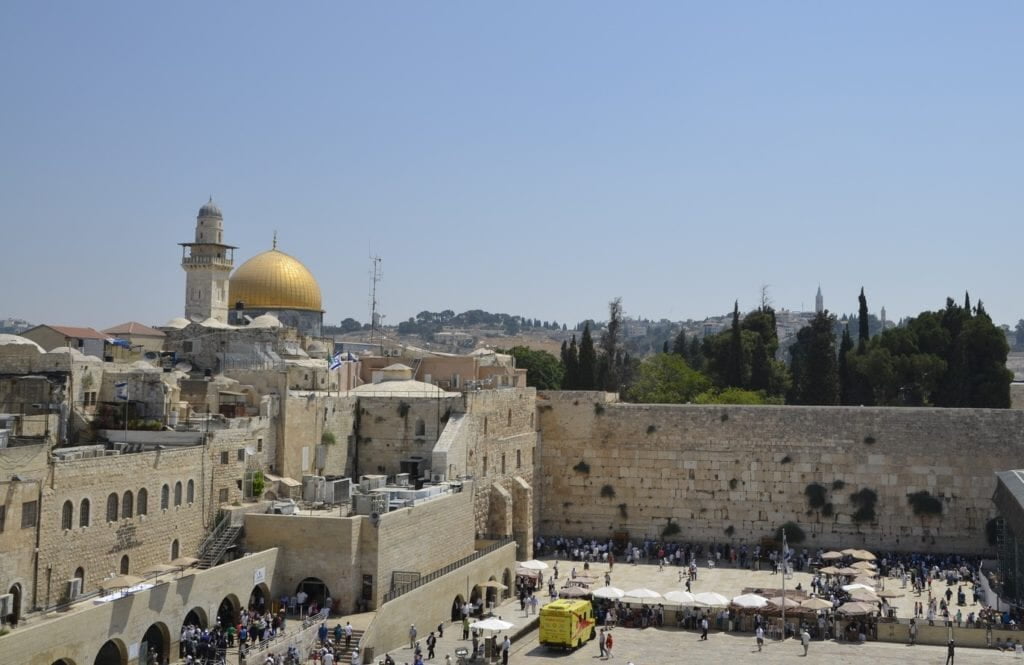
Celebrate God’s faithfulness as you visit biblical sites with a worshiping band of pilgrims who seek the peacemaking way of Jesus.
Tanzania Safari and Culture Tour
“The trip is quite possibly the best one I have ever taken. We were well looked after from start to finish. All the accommodations were exceptional and the food was terrific. It was a trip of a lifetime and I’m so glad I had the opportunity to go.”
Brenda W.
European Anabaptist Heritage Tour
“The main focus for me on the tour was learning more about my Anabaptist/Mennonite heritage and walking where my ancestors walked. This tour lived up to that expectation and even more. The extras (Riksmuseum, flower market, canal rides, Rhine River cruise, train ride etc) were icing on the cake. Also a focus on experiencing regional foods in restaurants was appreciated.”
Theresa B.
European Anabaptist Heritage Tour
“I loved being in the places of early Anabaptists were known to have been, especially in the two caves where they met secretly to worship; sharing communion in the larger one was unforgettable. The home stay in Berlikum was great; our hosts were so warm and welcoming. I was pleased to visit the Dirk Willems sites in Asperen.”
Lois K.
Great Trek: Central Asia Heritage Tour
The day spent in the village of Zirabulak was incredible as most "tourists" don't get the chance to interact with an Uzbek family. The relationship between the Uzbek family and those of us who had family connections to Mennonites who lived there in the 1870s is so important to maintain. The hospitality was above and beyond.”
Featured Tour Leader

John Sharp
John Sharp is a recently retired historian who taught at Hesston (KS) College. He is a former director of the Mennonite Church USA Historical Committee and Archives. John holds an M.Div. from Anabaptist Mennonite Biblical Seminary and has 15 years of experience as a pastor.